Monday, December 20, 2010

Sweet Destination: Algeria

Pecan Cookies

Have you ever wondered why I named this blog, my flickr nickname and even my small, "never taken seriously" home business, SweetAlmond? It all started a few years ago, when I decided to start a small business from home: selling cookies and baked goods. My husband helped me build a website, then it was time to choose a name for that website/business. Since I was concentrating on selling Algerian specialties, Almonds were the first thing that hit my mind. Almonds are the base for most of our sweets. Sweets, Almonds......SWEETALMOND! There it is!
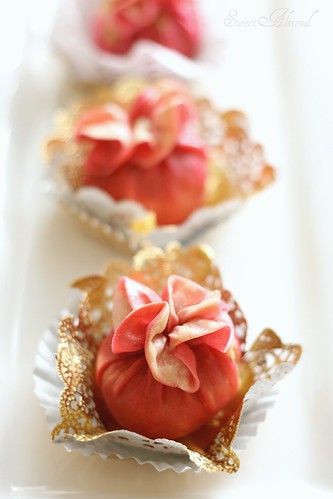
Almond Cookies

Eid Cookies

Algerian sweets are very elegant and tasty. They are sweet and nutty. A blend of wonderful flavorings: nuts, vanilla, lemon zest, orange blossom water or rose water. Some are dipped in honey syrup, others beautifully iced and decorated with almond paste flowers. There are so many varieties. New amazing designs, stunning colors and delicate decorations keep popping out. Every time I visit Algeria, I feel so "yesterday" when it comes to these delicacies.
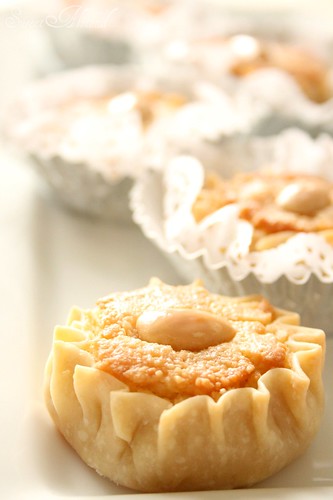
Dziriettes / Almond Tartlets

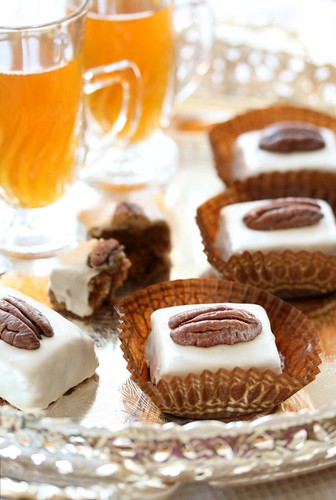
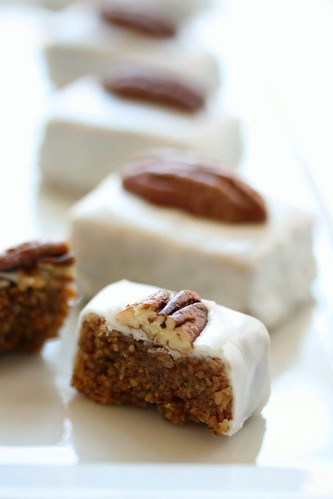
Pecan Cookies (Mkhabez)

Today's recipe is called "Mkhabez", which translates to "breaded". I know it sounds funny and has nothing to do with sweets. I have no idea where this cookie got its name from, and why such a weird name! Actually, most of our cookies have bizarre names, and even some savory dishes do: "drunk and falling in the stairs", "the judge and his team", and many more interesting ones, let's just leave this discussion for another post!
Back to the recipe. This cookie is very simple: just mix nuts, sugar and the flavor of your choice. Shape, bake for 10 minutes, and voila! All that is left is making the egg white icing and ice the cookies.
You can use any kind of nuts: almonds, walnuts, pecans or even pistachios. You can also add lemon zest (especially with the almonds) or any flavoring of your choice.

Mkhabez (Pecan Cookies)

300 g pecans (or any other type of nuts)
80 g granulated sugar
1 large egg, beaten
1/2 tsp vanilla extract
pinch of salt

1- Preheat the oven to 350F. Spread the pecans on a baking sheet and bake for 5 to 7 minutes. Let the nuts cool for 5 minutes.
2- Reduce the oven temperature to 300F and line a baking sheet with parchment paper.
3-In a food processor, combine the pecans and sugar and pulse until finely ground.
4- Transfer the mixture to a bowl, and add the vanilla and salt.
5- Start adding the beaten egg little by little until you form a dough. It shouldn't be sticky. If you feel that that dough is a bit dry, add more beaten egg, 1 tsp a time. Do this step slowly because this dough will quickly turn wet and sticky and this would make shaping the cookies hard, and even affect the final result.
6- Roll out the dough on a very lightly floured surface to about 1 inch thickness. Cut out shapes using a cookie cutter (any shape would be fine). Arrange the cookies on the baking sheet and bake for 10 to 12 minutes. Leave the cookies to cool before icing.

Icing

1 egg white
1 to 2 cups sifted powdered sugar
1/2 tsp vanilla extract
1 tsp lemon juice
1 tsp vegetable oil

Lightly whisk the egg white. Start adding the sugar little by little until you reach a white shiny icing. The icing should not be too runny nor too stiff. Add the vanilla, lemons juice and oil. You can add food coloring at this point if you would like.
Dip each cookie, one by one, in the icing and arrange them on a cookie rack (with a pan underneath it) to let the excess icing drip. Decorate with pecan halves.
Tuesday, December 7, 2010

Happy to be here!

Tiramisu Cupcakes

How are you dear readers and followers? I am very happy to come back! what happened you may wonder? let's just say some health related issues kept me away. Nothing to worry about, just going through some changes :)
I definitely missed blogging, baking and photography. I Missed all of you, fellow friends. To everyone who follows my blog and always waits for new recipes and pictures, I say sorry for being absent for so long. I am sure all of us go through stages where we find ourselves unable to surmount life's demands, and I am sure you would forgive my brief disappearance.

366

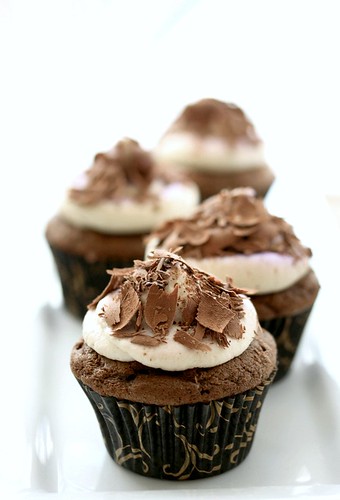
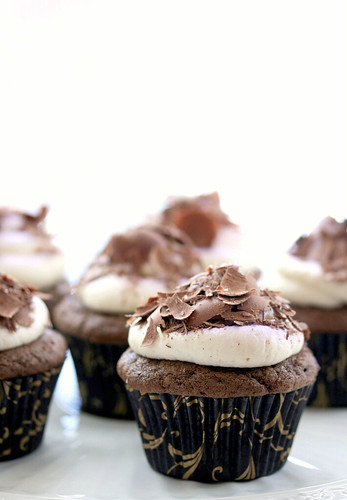
Although I have been inactive lately, I was following amazing works from different flickrer/ bloggers. I got the ispiration for these cupcakes from the amazing Aran of Cannelle Et Vanille. I had mascarpone, wanted to have Tiramisu but since it takes some time to make I thought about making something quicker, cupcakes! I made few changes to the recipe in order make it more "tiramisu-ish", I added some coffee to the batter. I also made a mascarpone cream icing flavored with vanilla and coffee instead of the whipped ganache. The icing turned amazingly light and tasty....
I hope you try this recipe and I also hope everyone is enjoying this time of the year and the coming holidays!

Tiramisu Cupcakes

Tiramisu Cupcakes (adapted from Cannelle Et Vanille)

Cupcakes (makes 11 to 12 cupcakes)

1 stick of butter, room temperature
1/4 cup sugar
1/4 cup brown sugar
2 large eggs, room temperature
3 ounces bittersweet chocolate, chopped
1/2 cup buttermilk, room temperature
1 tsp espresso powder
1/2 tsp vanilla extract
1 cup all purpose flour
1/2 tsp baking soda

1- Preheat the oven to 350F. Line a muffin tin with baking cups and set aside.
2- Combine the chocolate and the coffee. Melt over a double boiler. Set aside to cool.
3- In a bowl of a stand mixer, combine the butter and the sugars. Whisk until light and fluffy. Add the eggs one at a time, whisking well after each addition. Mix in the melted chocolate.
4-Add the vanilla and half the buttermilk. Add the flour and baking soda then the remaining buttermilk.
5- Divide the batter between the liners and bake for 20 to 25 minutes or until a toothpick inserted comes out clean.

Mascarpone Cream

300 g mascarpone cheese, room temperature
150 ml heavy cream, chilled
80 g sugar
1/2 tsp vanilla paste
1/2 tsp coffee extract

Whip the heavy cream and sugar until soft pick. Add the mascarpone and whisk until light and fluffy. Add the vanilla and coffee extract.

Pipe icing on the cooled cupcakes and decorate with shaved chocolate. enjoy!

Tuesday, August 3, 2010

A Marbled Cake and my exciting Summer

Dreamy...

Finally, settled in our new house. It was one long moving, the 8th in 10 years and not the last one for sure. This summer was very hectic, restless and hot! I think I already mentioned that I am not crazy about Atlanta's weather and Summer is no exception, very warm and humid,which is not my favorite combination. Trips to the swimming pool were our main destination and baking was set aside for some time. Because of the heat? yes, but not only that. The moving and the temporary instability that comes along with played a big part in my hibernation.


Mousse Cake
marbchoc

Back to my new kitchen and my "cher companion": the oven, I started with my ultimate weakness, the chocolate cake. I just realized I didn't post the recipe on my blog, how can that be??!! I've made this cake a thousand times, posted different pictures on flickr to the point where I felt kind of embarrassed to post anymore chocolate cake photos. I will have to post that recipe.

I love Spring

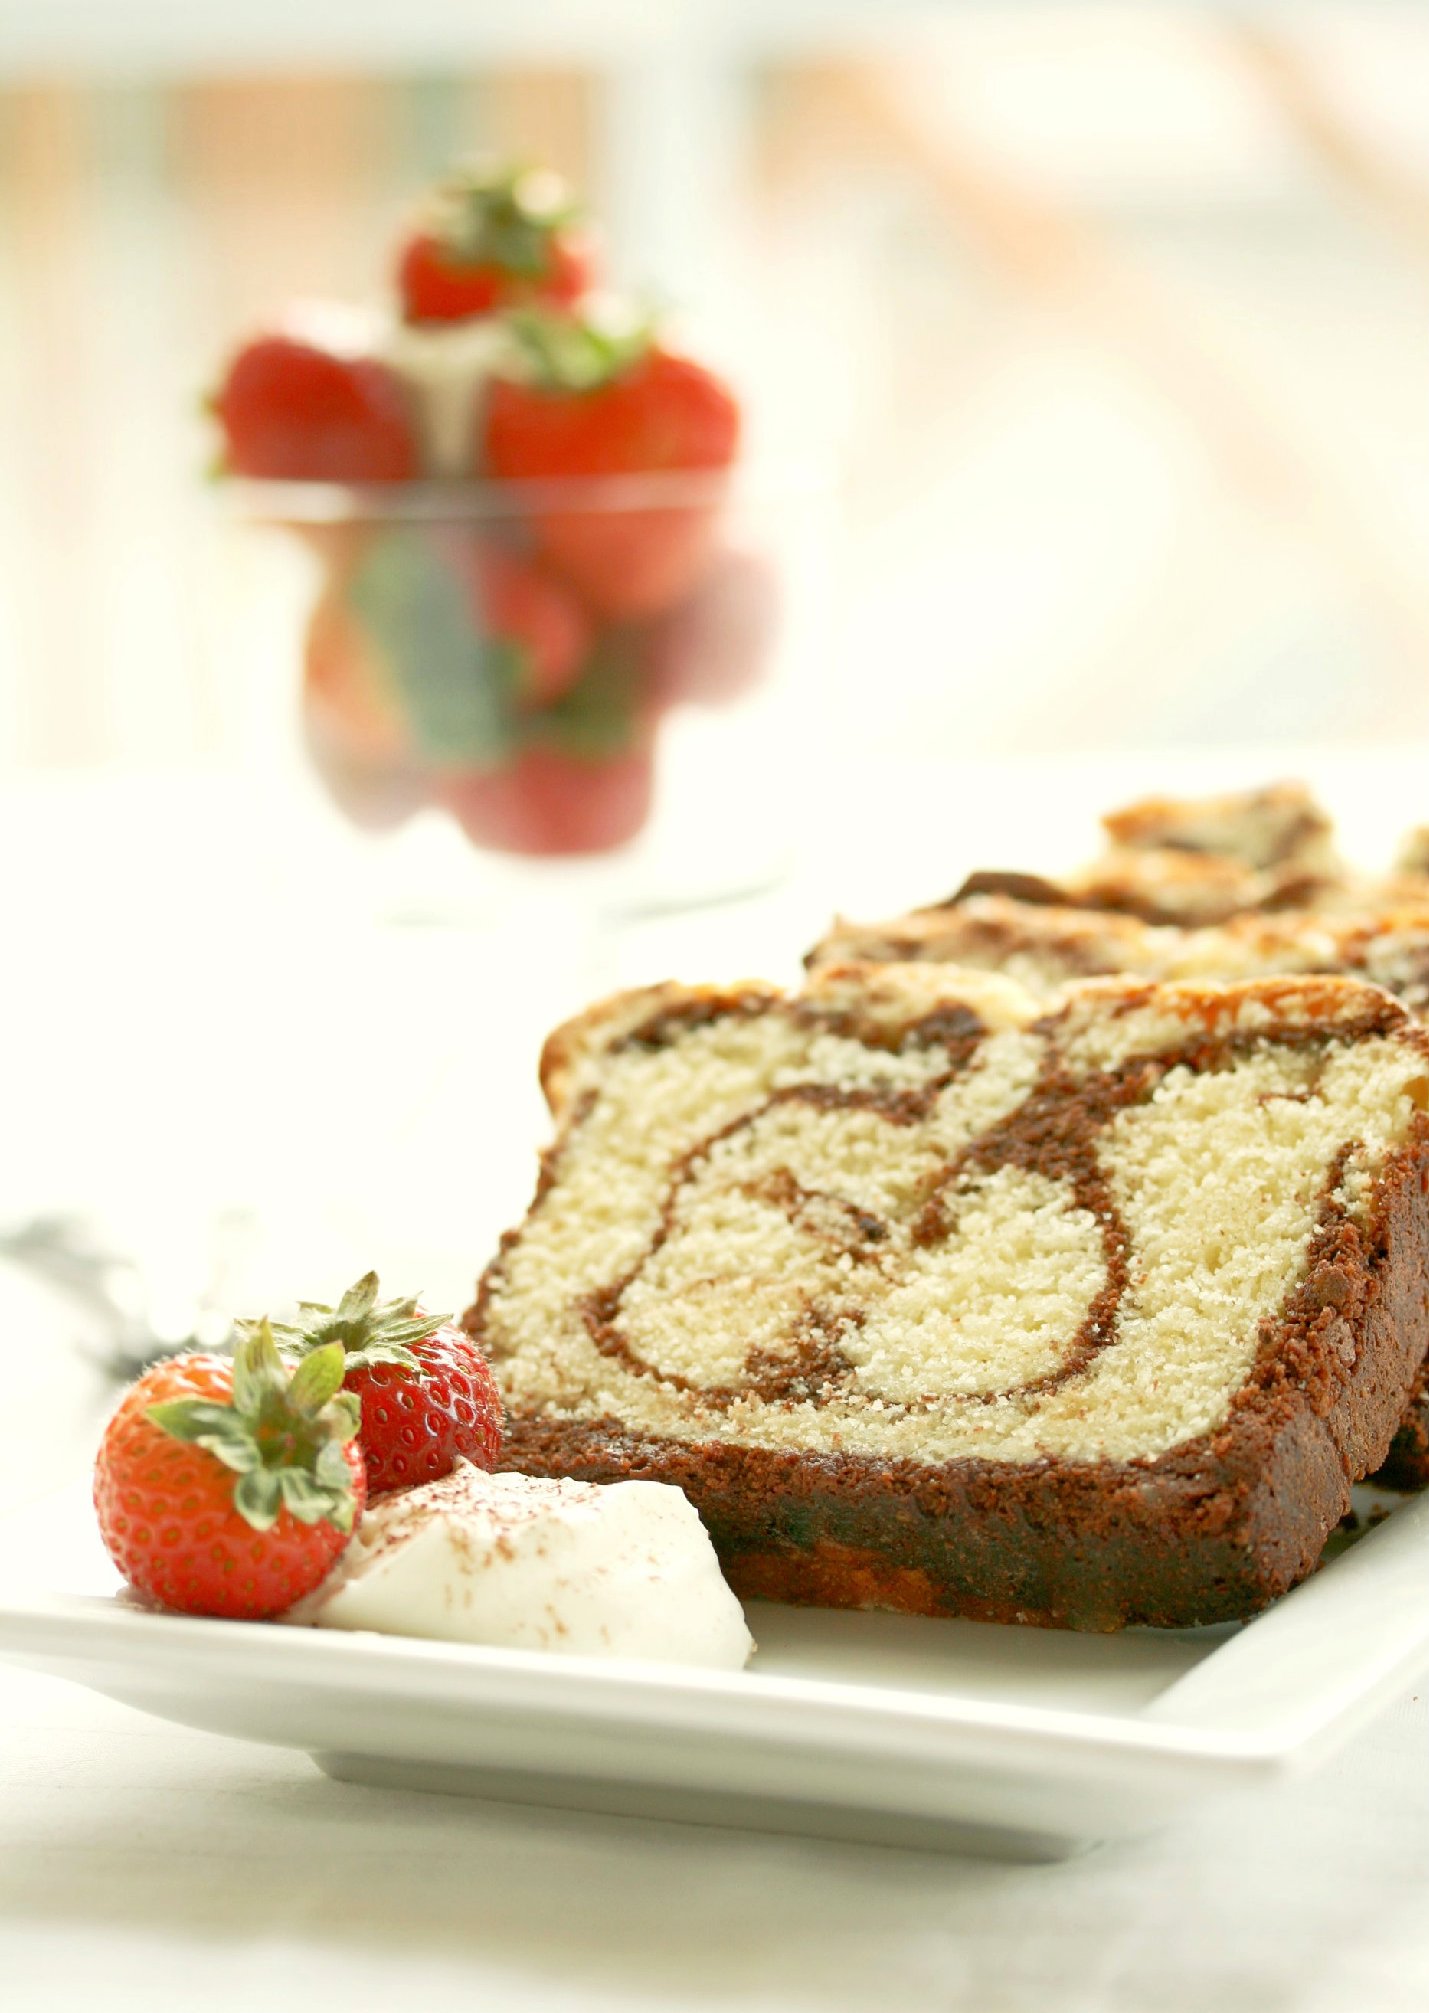
I also made cherry pistachio clafoutis, fruit tartelettes, a decadent chocolate mousse cake. I also made strawberry sorbet, ice creams and last but not least, one of my favorite: marbled cake. I have been looking for the best recipe for that one for some time. tried many: the dry, the dense, the tasteless...until I found the perfect one. I found it in a cookbook I bought while waiting for checkout at a department store. I initially bought this book for 3 reasons: first, it was very cheap and I liked the the cover (it was pink, my favorite color). Second, I don't like waiting in lines and needed something to keep myself busy, and third because I liked the pictures of the book. It is a tiny book with no author name, called "Baking". Ridiculously simple, but let me tell you, the recipes are very good, even impressive. Isn't it amazing when sometimes things exceed your expectations? I love that feeling.
I'll try to post some of the other recipes, meanwhile try to make this cake and have it with a cup of coffee or tea, a dollop of whipped cream and fresh strawberries, or with vanilla crème anglaise, you'll love it! Enjoy your summer everyone!
Marbled Cake

Marbled Cake

10 tbsp unsalted butter, room temperature
1 cup granulated sugar
2 large eggs
6 tbsp sour cream
2 cups self rising flour*, sifted
1 tsp vanilla extract
4 oz. semisweet chocolate, chopped
4 tbsp milk
2 tbsp heavy cream


Preparation

Preheat the over to 350 degrees F. Spray a 9 by 5 loaf pan with cooking spray and line with parchment paper. Spray the parchment paper as well.

Place the chocolate, milk, and heavy cream in a heat proof bowl. Set over a pan of simmering water and heat gently until melted.

Cream together the butter and sugar until light and fluffy. Add the eggs one at a time, mixing well after each addition. Add the sour cream. Gently fold in the sifted flour.

Take out a third of the batter and add the melted chocolate to it. Add the vanilla to the white batter.

Spoon the batter into the prepared pan alternating between chocolate and vanilla.

Bake for 40-45 minutes or until toothpick inserted in the middle of the cake comes out clean. Cool in the pan 10 minutes then unmold. You can glaze the cake with a ganache if you like.

*If you do not have self-rising flour, use the following for one cup of self rising flour:

1 cup all purpose flour, 1 1/4 tsp baking powder, 1/8 tsp salt

Friday, March 19, 2010

Brownies to welcome Spring


Spring Bouquet

As Spring approaches, I feel happiness and excitement. I love the sunshine during this time of the year, not very hot, just the right amount of heat you need to feel good and enjoy the joyful weather. Spring puts a smile on my face. For me, it is the most wonderful time of the year!

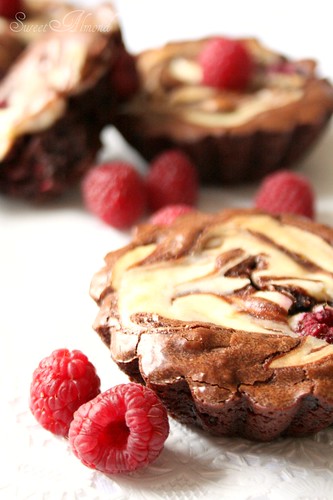
Cream Cheese Swirl & Raspberry Brownies

Although for me brownies rhyme with winter, comfort food...etc and despite the weather these days that says "winter is over", I wanted  brownies! I haven't made them for some time, and I guess I missed their chocolaty goodness.

I made and ate my first brownie when I came to the US, ten years ago. Of course I heard about them before, but due to French cooking influence, brownies have never been on my to do list. In some of my French cookbooks, brownies are found under the title: "The American Specialty" and somehow, I always felt it was too adventurous to try them, plus it always calls for a lot of chocolate! Now, I am glad I made this sweet discovery. It is for sure a part of my repertoire.


Brownies


Brownies
I just want to mention that I made half the recipe in my 8 by 8 cake pan, that's why my brownies are kind of flat. But it worked fine for me because they were lighter (not calorie wise though!)

3 large eggs
1/2 cup granulated sugar
1/4 cup brown sugar
300 g semisweet or bittersweet chocolate, chopped
1 stick unsalted butter
1/2 cup all purpose flour
1/2 tsp baking powder
1 tsp vanilla extract
1 tsp instant coffee
pinch of salt
1/2 cup chopped pecans or walnuts (optional)

1- Preheat the oven to 375. Grease an 8 by 8 square cake pan. line with foil and set aside.
2- Combine the chocolate, butter and instant coffee and melt over a double boiler. Set aside to cool.
3- Whisk the eggs and the sugars until well combined. Add the vanilla extract. Whisk in the melted chocolate.
5- Sift the flour, baking powder and salt. Gently fold the dry ingredients into the chocolate mixture. Fold in the nuts if using.
6- Put the batter in the prepared pan and bake for 35 to 40 minutes or until a toothpick inserted comes out clean.
Let the brownies cool completely before cutting.


Wednesday, March 3, 2010

Make a wish...

Red Velvet Cakes


This post is a bit different because it has no recipe. I am indeed using this post as a detox, a confession, something that I want to talk about and found nobody to listen but that screen and typing board and of course you! It started when I was looking at some food blogs that I always liked and admired and still do. The kind of sites full of amazing pictures, stories and wonderful recipes. They catch your eyes with their beautifully captured and meticulously arranged images. The blogger tells Beautiful stories that are simple yet they keep you stuck to the screen until the end. Some of the amazing ones get even the privilege to be nominated for different awards, like the one organized by Saveur Magazine lately.  I so envy everyone who is nominated and wish them the best of luck because some of these blogs are just gorgeous, and deserve the best awards!

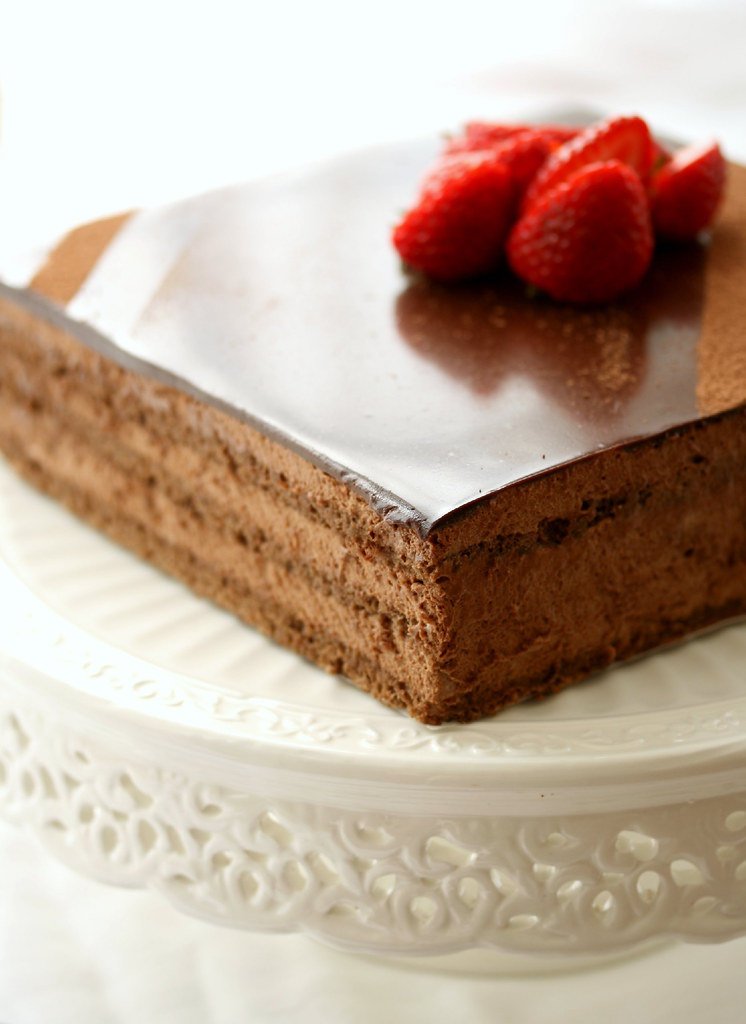
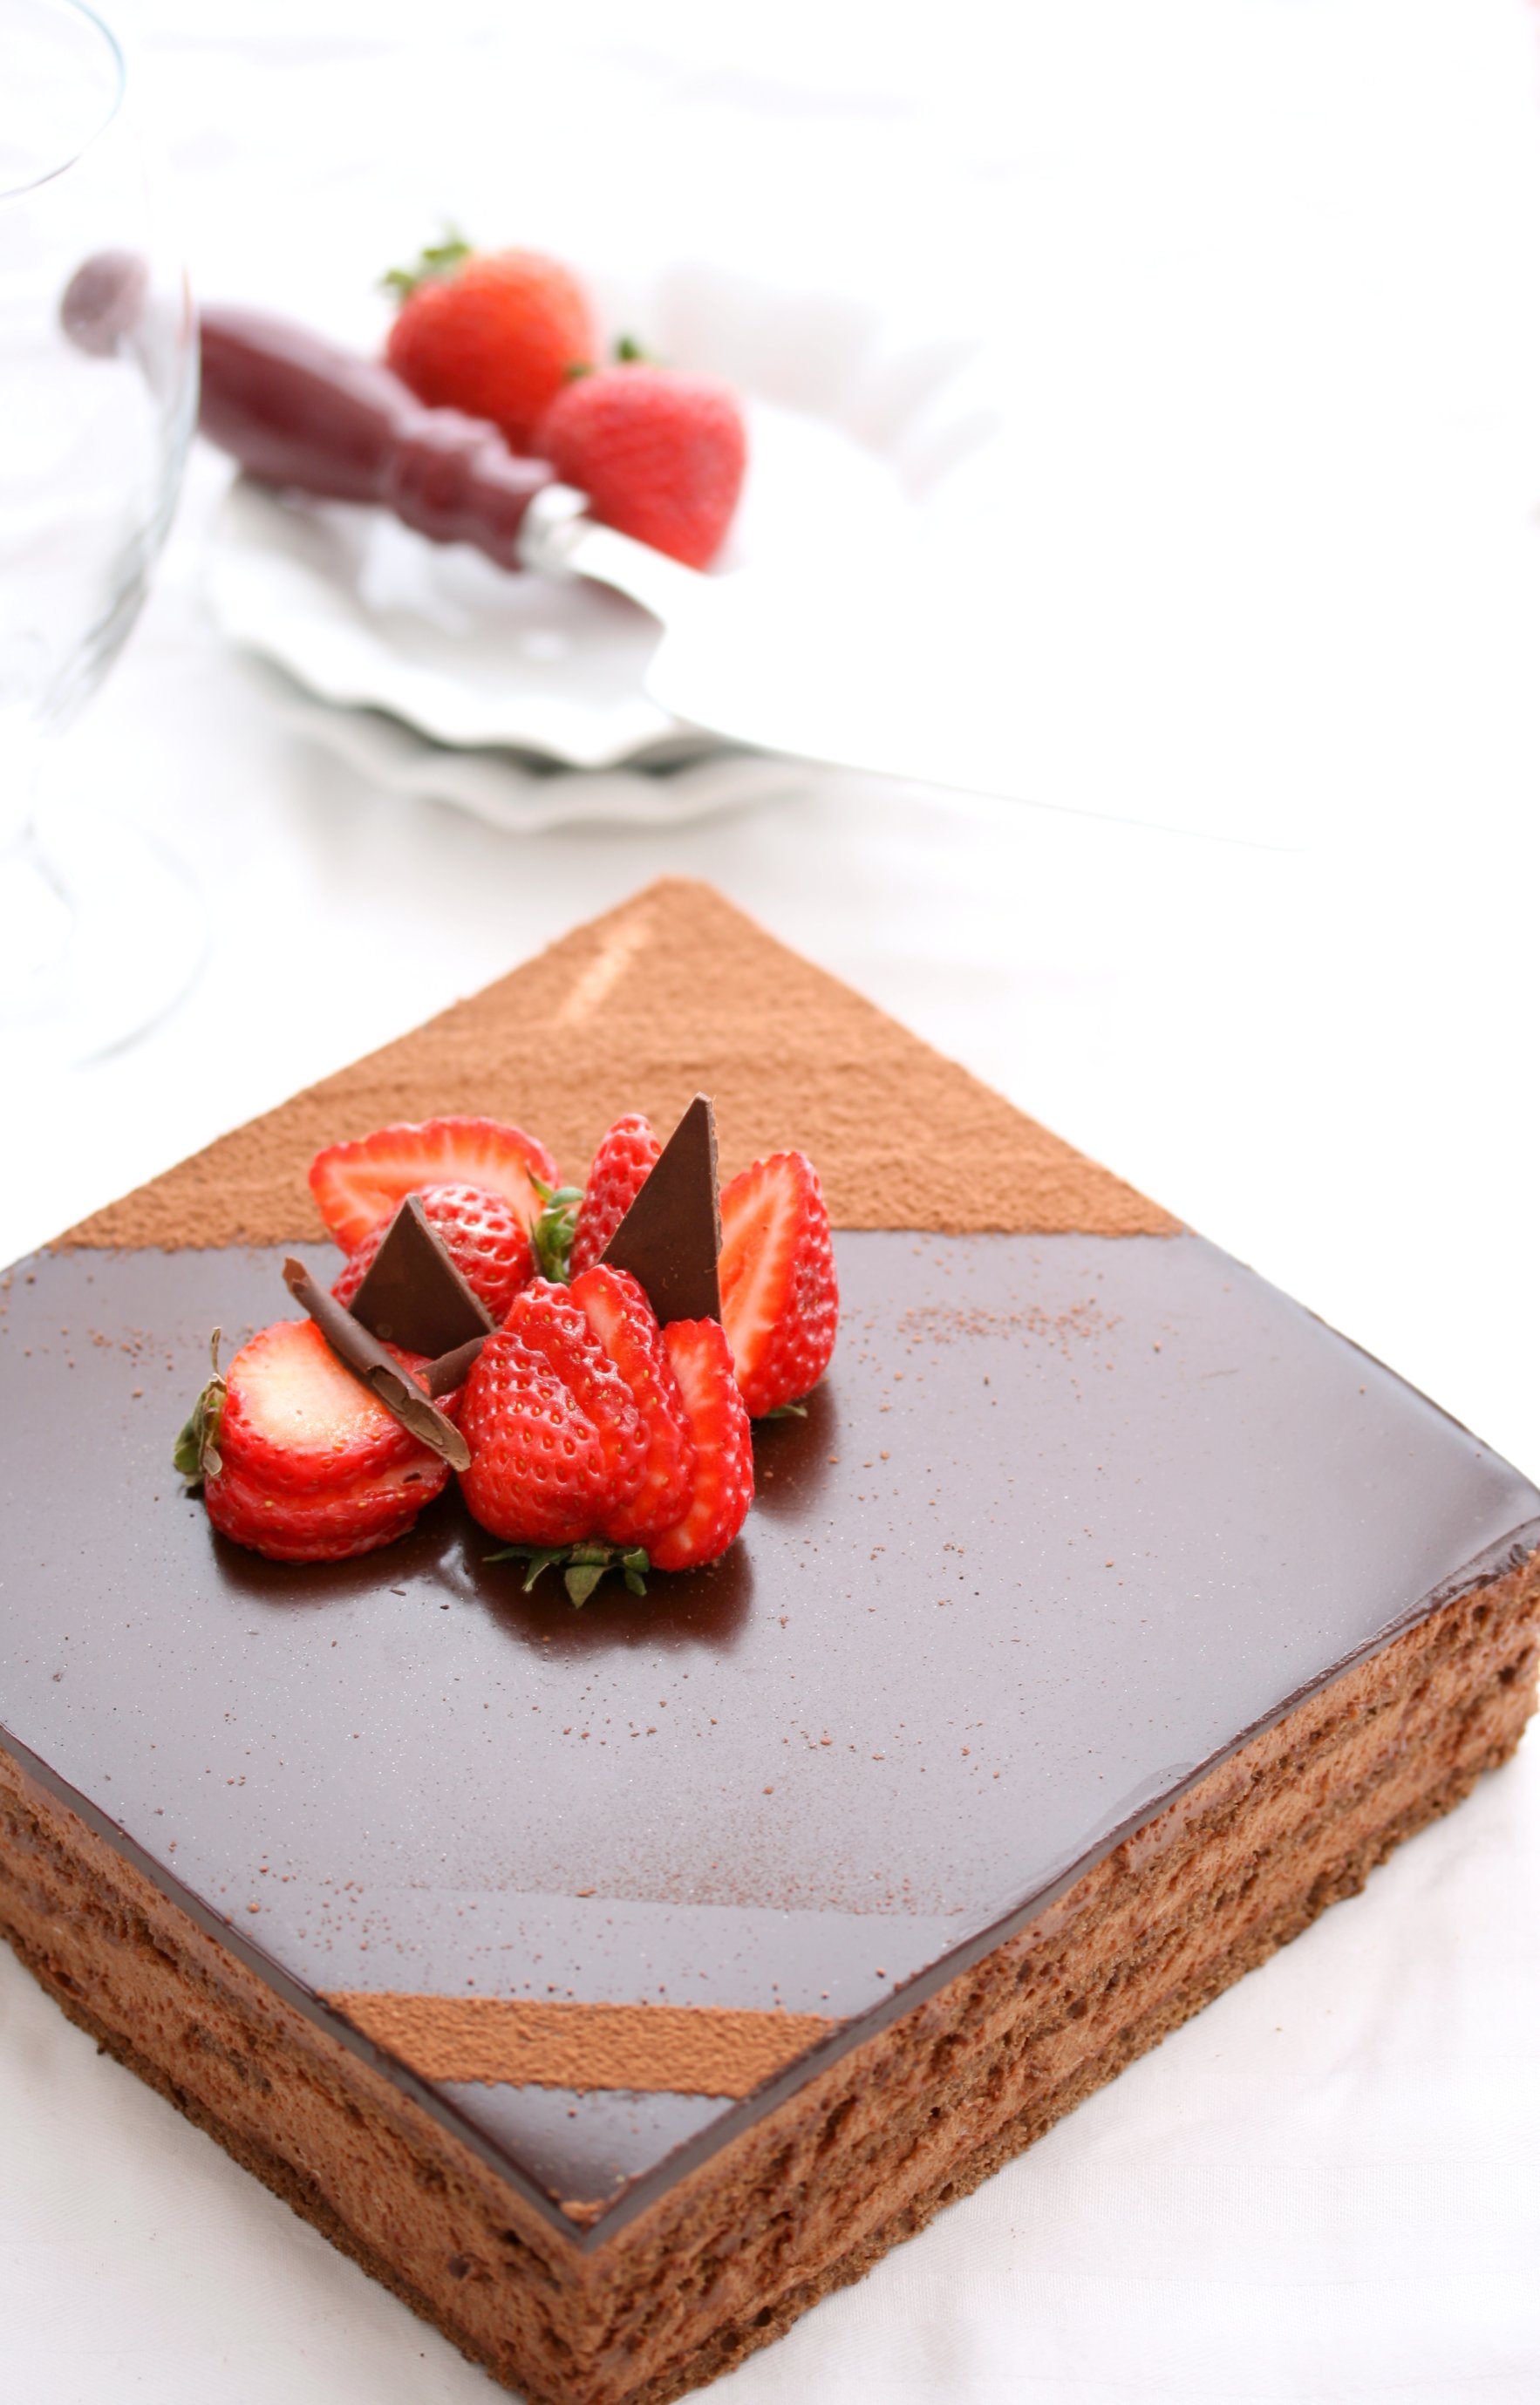
when I started this blog, I wanted to create something sophisticated, original and most importantly, I wanted to establish a reference. what I ended up with?? just "a blog". My heart aches every time I think about it. I am around here once every one or two months. I am a perfectionist, and due to lack of time and never ending family demands, I find my self very limited and having only two choices : either do nothing, or just do whatever! snap a pic before one of the kids wants his afternoon snack, or needs help with homework, then the husband asks about lunch or dinner while your head is thinking about that mousse cake topped with a glossy fruit jelly,a chocolate decoration using the transfer sheet I was so excited to buy from Sur La Table (my heaven!) and never got the chance to use yet, and wait the cake should stay in the fridge overnight......ahh!! will I have time tomorrow to...even remember the existence of that cake?!!

Fraises...

At the end I have to say that because of you, followers, that this blog is surviving. It is through your sweet comments and encouragement that I get the strength to come back and post again, even once in a trimester. I want to tell everyone who appreciates my very little work, Thank you!!!.I, on my side, still have hope to make this blog a perfect one......one day :)


Friday, January 1, 2010

A New Year

Tiramisu in chocolate cups

Well well, I just checked that my last post was on June!! sorry blog followers, I hope you didn't lose complete hope in me. Life has been crazy around here and I have been super lazy too, I must confess. So, new year, new hopes, new resolutions (I don't believe in that resolution thing, though), more blog posting, less baking because my husband wants to lose some weight, less stress (hopefully), more time to take care of my self.........just a tiny bit more, and most importantly: good health and happiness. I believe that happiness comes when we feel satisfied with whatever God blesses us with, and always be thankful. 2009 was a "OK" year for me, ups and downs but I am thankful for everything that had happened that past year. I am thankful that my family is healthy. Thankful for being around my kids, seeing them growing and happy. Thankful for everything, good and not so good.

Photobook

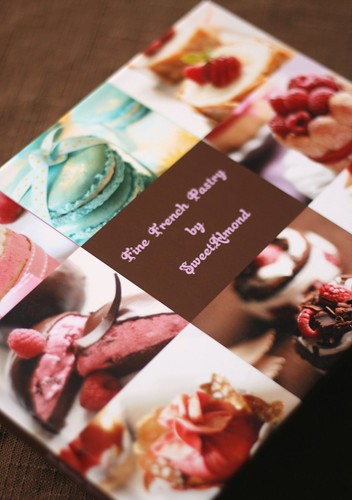
I am also very happy to get my first photobook. I was so excited when I saw it. An entire book made out of.....my pastry creations!!! Not be confused : THIS IS NOT A COOKBOOK, it is a photo album put in a form of a book. I just love it! It has my personal favorites, and people's favorites too. Who knows, may be next year at this time I would be writing about my cookbook! what do you think, would you be interested in a SweetAlmond cookbook? would you buy it? (honest question I know). No seriously, If I write a cookbook it would be done with love, a passion put into words and pictures that go straight to people's hearts, eyes and tummies of course. Whenever they open my book, I want people to feel the urge to bake, and be super happy with the result: look and taste wise, nothing else would matter....truly!

Photobook

I started this year with one of my absolute favorite desserts: Tiramisu. I did not make it as a special dessert for the New Year, we actually don't do anything special on that day. I just had mascarpone cheese for couple days in the fridge and some "free time". I also had this idea of making Tiramisu in chocolate cups for some time in my mind. Plus, I have those printed "SweetAlmond" ribbons which have been waiting for so long to be wrapped around something!! The problem is that I can't stick them everywhere otherwise my photo stream will all look the same!!
This is my favorite recipe, made it over and over and never been disappointed. It is not too sweet, which I like. You can assemble this dessert in one big dish or what I personally prefer, make it as individual servings. In this particular one I built cups out of chocolate and followed the same assembling process. As you know, Tiramisu is best eaten the next day, but a few hours in the fridge would be enough if you can't wait.


16 oz Mascarpone cheese, room temperature.
1/2 cup sugar
1/4 cup water
6 egg yolks
1/2 cup heavy cream
1 to 1 1/2 cups freshly brewed coffee, cooled.
Lady fingers
cocoa powder and shaved chocolate for garnish

Preparation

1- Combine the egg yolks, sugar and water and cook over a double boiler whisking continuously (you can either use a whisk or a hand held mixer) until thick and light in color. This may take from 5 to 10 minutes. Set aside to cool.

2- In another bowl whisk the cheese to soften its consistency. Add the cooled egg mixture and whisk until well combined.

3- Whip the heavy cream to soft peak and gently fold it into the cheese mixture.

4- Start buliding the Tiramisu: dip the lady fingers in the coffee on both sides. Be careful not to dip them for too long otherwise they'll be too soggy. Start arranging a layer of ladyfingers then cheese mixture and so on. The last layer should be cheese. Sprinkle the top with cocoa powder and /or chocolate shavings and refregirate for a minimum of 3 hours.

Do not forget these important points:

1- bring your mascarpone cheese to room temperature before using.
2- After cooking the egg yolks let them cool down slightly before you add them to the cheese.
3- Do not use HOT coffee to dip the lady fingers in and do not dip them for too long.
4- You have to wait atleast 3 hours before consuming the Tiramisu.
5- Eat with moderation.

Note: for a fluffier tiramisu, you can add two egg whites beaten to soft peak with 2 tablespoons of sugar. Add them to the cheese before adding the egg yolks mixture. Follow the rest of the steps.